Method
|
Pictures
|
|
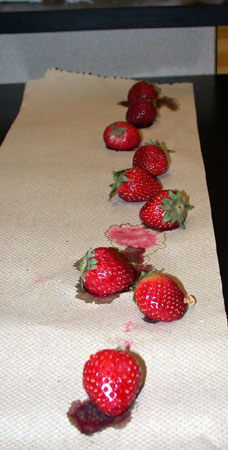
Rinse fresh strawberries. Prepare the shampoo/salt solution. Chill the alcohol.. |
 |
|
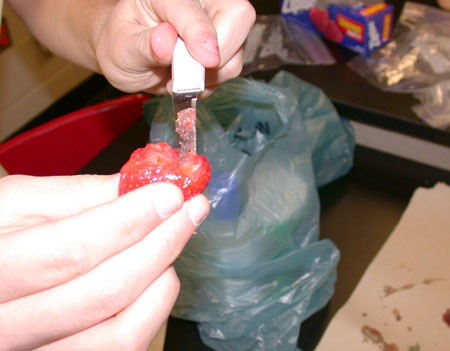
Pluck off or cut away the green sepals.
|
 |
|
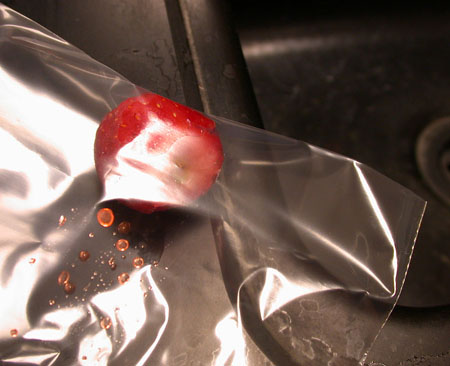
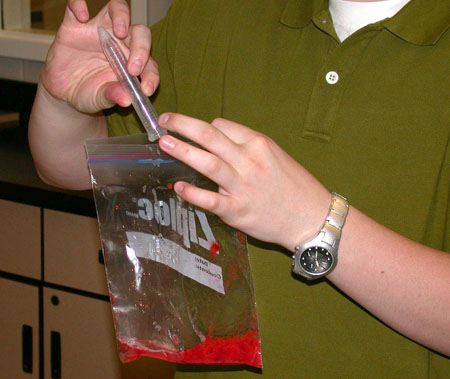
Pop into a ziplock style plastic bag.
|
 |
|
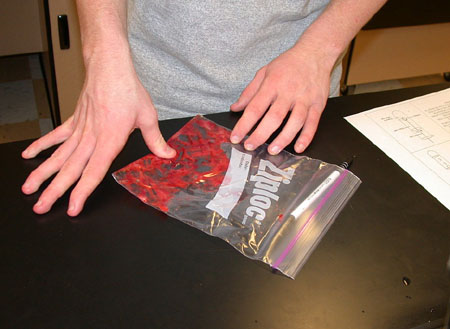
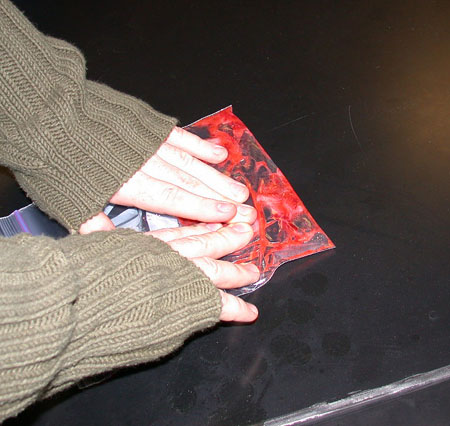
Smush for several minutes to completely crush
the fruit.
|
 |
|
Add 5 -10 ml of a solution containing non-phosphate
liquid detergent (look for the ingredient on the label called sodium
or ammonium laureth/lauryl sulfate, AKA SDS)or conditioner-free shampoo
plus table salt (to prepare the solution see teacher
instructions.)
|
 |
|
Smush another few minutes. Be careful not to generate
too many soapy bubbles!
|
 |
|
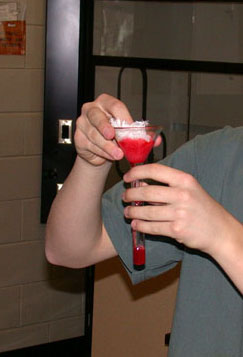
Filter through a moistened paper towel or 2 layers (like two window screen layers) of cheescloth into a clear cup or test tube. Watch the teacher demonstrate proper filtration technique. DO NOT squeeze all the juice through so you can keep the pulp out. |
 |
|
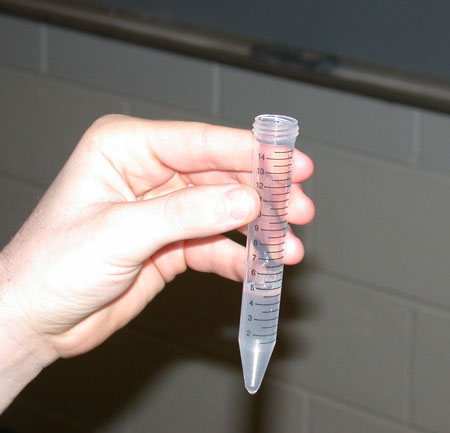
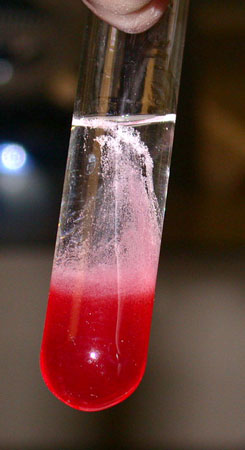
Add 2 volumes (10 ml per 5 ml of juice) of ice cold 91% rubbing alcohol - available in a pharmacy (or 100 % isopropyl alcohol or denatured ethanol available in a school). Add carefully so the juice and alcohol layers stay fairly separate. If you can, chill or better yet, freeze the alcohol. The yield will improve. |
 |
|
Watch for development of several large air bubbles
that have an attached cloud that begins to float up. The cloud is DNA!
|
 |
|
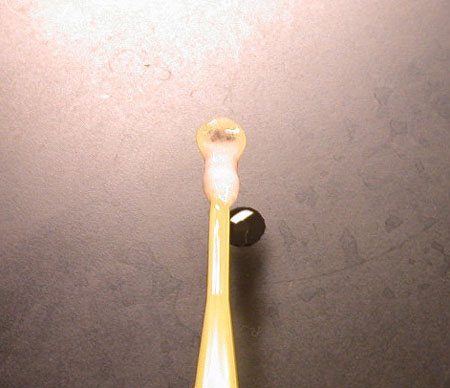
Spool out with a thin glass rod, plastic coffee stirrer,
plastic pipette. Spin and stir like making cotton candy. The yield is
higher if you hold the tube at an angle.
|
 |
|
Pull out the DNA. It will look like mucus or egg white, then as it dries, look more like spider web. The fibers are thousands and millions of DNA strands! To view in a microscope, put the glob on a clean slide and gently tease/stretch apart using 2 toothpicks or dissecting pins. The fibers will be easier to see in the teased-apart area. |
 |
|
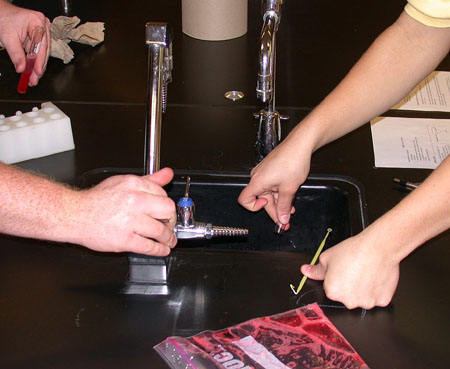
Rinse out the tube and baggie and the spooler. If you
used cheescloth and a funnel, rinse them out also, so students in the
next class can use them too!
|
 |